
If you are unsure of the depth of surface required to meet the Critical Fall Height regulations or recommendations please contact us and we will advise you. The table below will give you some help with this but is meant only as a guideline.
|
Potential Fall Height |
Depth of Rubber |
|
1.7 metres |
40mm |
|
1.9 metres |
50mm |
| 2.7 metres |
75mm |
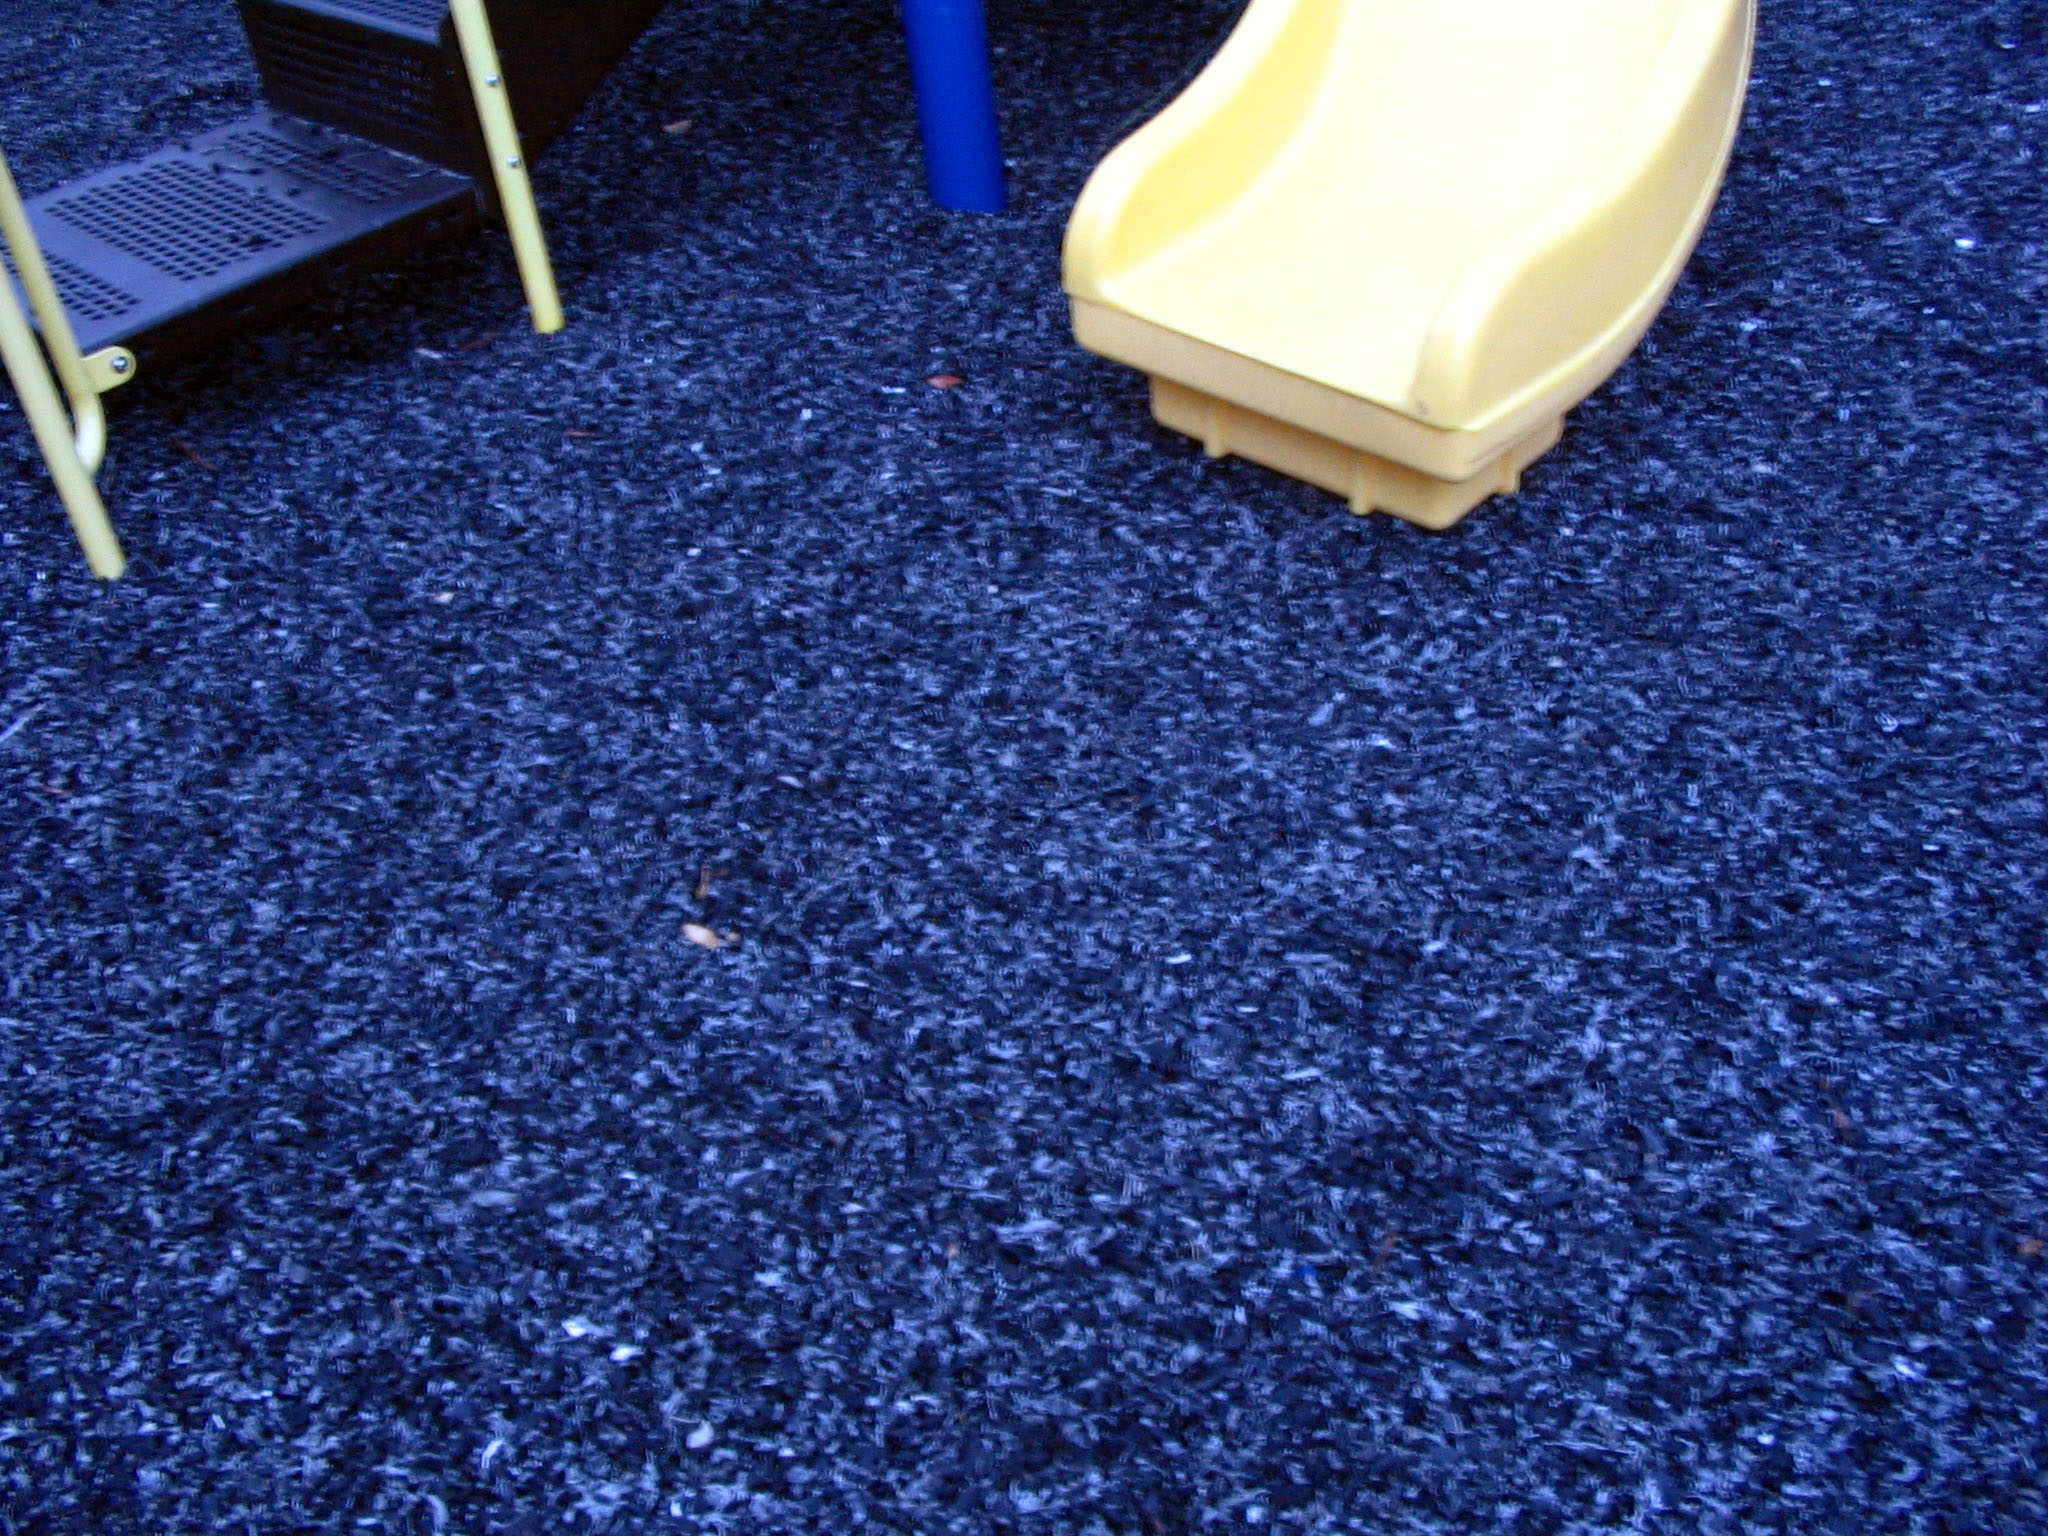
Safety Play Rubber Mulch should be mixed with our PU Binder and laid as a continuous wet pour surface. To create a durable and long lasting surface it is important that the area is well drained and stable. A firm edging should initially be installed around the perimeter of the area either using Rubber Kerbs, treated timber or other permanent edging.
Bonded Rubber Mulch can be laid on existing solid surfaces such as tarmac or concrete but ensure that there is good drainage. We do not recommend laying directly on to unprepared surfaces such as bare soil or grass. If the area you intend to use is soil, grass or another unmade surface then we advise removing 100 mm of the existing surface and replacing it with a minimum of 100 mm of a compacted aggregate such as MOT Type 1. It is also a good idea to lay a Geotextile membrane next to inhibit weed growth.
Our bonded rubber products should not be laid in damp or cold conditions, 5 Degrees Centigrade is the minimum temperature advised. PU Binders are moisture activated and any contact with moisture during installation will cause the binder to react and cure much more quickly, resulting in potential problems with the finished surface.
To mix the Rubber Mulch and Binder it is common practice to use a forced action pan or paddle mixer, which are widely available for hire.
We recommend a mixture ratio of 20% PU Binder to Rubber Mulch should be used. (20 kilos of Resin per 100 kilos of Rubber Mulch).
Allow the material to mix for between 4-6 minutes per batch. This is important as reducing this mixing time will result in the surface taking much longer to set. However, leaving it too long mixing will make it more difficult to spread so this timing is critical.
When the batch has been mixing for the correct length of time, empty it from the mixer in to a wheelbarrow, then take it to the site to be laid and pour out.
This should then be trowelled evenly over the area to the required depth using a depth block and straight edge and then lightly rolled to ensure a level surface. As the rubber is obviously very adhesive at this point we suggest continuously lubricating your trowels and rollers with ͚soapy͛ water to keep your tools clean. White spirit may be used to clean your tools once you’ve finished.
The area should be ready to walk on within 24 hours but we recommend it not be used for 72 hours after completion.
Tools you may require;
- Forced action pan (paddle) mixer
- Wheelbarrow
- Light roller
- Trowels
- Measuring Jug and Funnel
- Straight Edge
- Depth Block
- Bucket
- Gloves
There are no comments